These will be the last of my Tyranids for a bit. After this I'll be switching back to the Marines in order to finish up some of the boxes I have left over. I'm slightly terrified a spider might have made a nest in the blackened drop pod I have laying about near the TV. That's going to be a surprise.
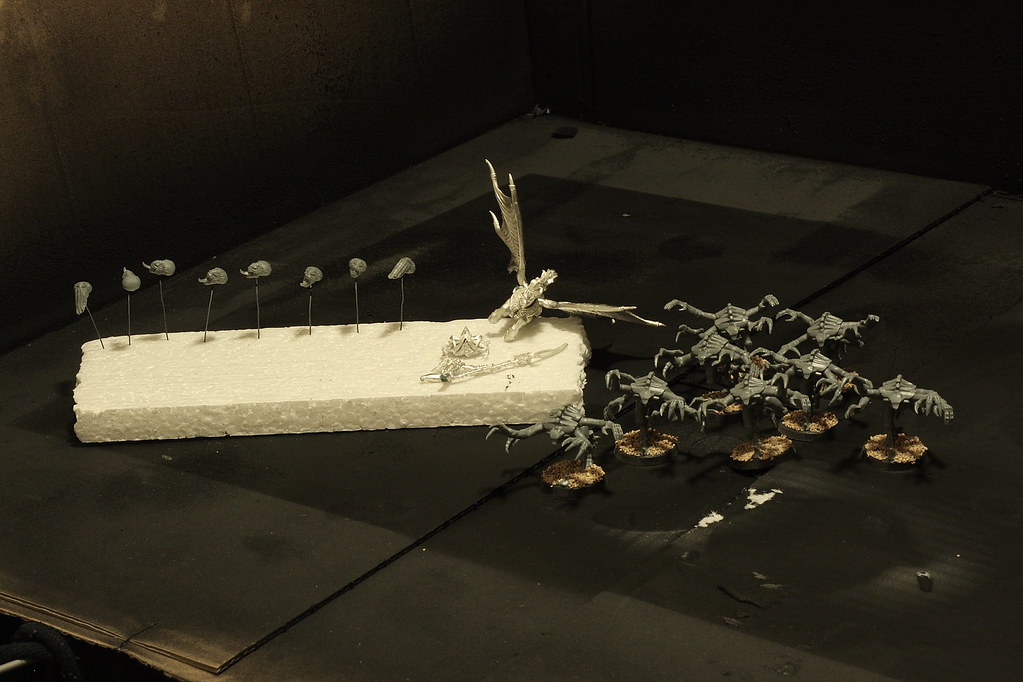
What's that you say? Something in there isn't a bug? One thing is unlike the other? Are you sure!? Let's see... 8 Genestealer heads, and 8 Genestealer bases. Oh right! That Pegasus thingy and it's dark elven sorceress... That's a new Tyranid Unit! ...
Ya ok, so I'm going to go through the process of that model and how I put it together. I'm doing it for a guild leader of mine in WoW here. I'm doing it because it's my reward for finishing off all those Tyranids and doing what I think is a fine job of them.
The character is Morathi, and it's a dark elven sorceress mounted on a black pegasus. So here's step one. I cleaned her up and her horse shaving off all the little metal bits and filing down any lines that shouldn't have been. Not a hard job really, nor one that's very time consuming.
Once she was cut out and cleaned up, I grabbed "Green Stuff," and filled the inside of the horse with it. Next, I stuck about 3 pins between both halves of the main body and glued them together. The green stuff was important for the pins, and with the glue it will help hold the two halves together. I wager, even dropping the horse, it may not come apart now as both halves are fully glued together rather than just the edges. Once that solidified I attached the wings, and pinned the head to the upper body. Again, both really easy task. The wings fit into a slot on the horses back and I did fill it with green stuff before super glueing the wings in place. Trust me, it's worth it. Just let that dry good before you continue on.
I did much the same with the witch herself, though I've no good photo's of her. I ended up using some green stuff between her head and her head dress. It worked out alright. With a slender piece of wire I personally grooved in some lines into the green stuff in order to make it mimic the hair around it.
The last thing I did to this creature, and a new thing that I learned, was filling in the cracks with green stuff. I discovered that while working with green stuff, if you wet your fingers or your tools, it goes on ten times better! I was actually able to make her horses back look much better than before as well as her horses underside. Though this is my first attempt, I'm sure it won't come out all grand and awesome, but I've already got new ideas and things I want to try on future models where I my deploy the same techniques. We'll just see how this one turns out for now. I have a motto. Try things, see how they turn out, improve on the next. If I try and make the first model perfect, then I'd be stuck on it FOR AGES! Just like my drawings. Draw it, get it out of your head, get it done. Improve and learn on the next drawing.
Keep moving forward.
So, that's it for now. That's this week's update. Hopefully next Sunday I can have some more great photo's to show of the progress on these guys.
No comments:
Post a Comment